Part 2: CSS
Index
Back to Part 1: HTML
Part 2: CSS
- What is CSS?
- Making a Stylesheet
- Editing a Stylesheet
- A Few CSS Selectors
- A Few CSS Properties
- Using Webfonts
- Resources
What is CSS?
CSS is short for "Cascading Style Sheet." The easiest way to think of a stylesheet is as a set of clothes that your webpage can take on or off as it pleases. By editing your stylesheet, you can change the look, feel and mechanics of your webpage in a safe, non-destructive way.
Here's an example. Let's say that you wanted to make every link in your webpage italic. Well, you could do it with HTML, by manually putting tags around all of your links:
But what if you decide that, nah, you actually don't like how it looks? Then you'd have to go back and change every link by hand. What a hassle.
But if we use a stylesheet, we can just type...
And then we just change that one line of code later if we change our minds.
Making a Stylesheet
Making a stylesheet is a lot like making an HTML page. Open up a new file (in Notepad, or Brackets, or whatever you're using) and save it as style.css. Make sure to save it in the same folder as your index.html page.
Now, go back to your index.html page, and copy and paste this line of code somewhere between your tags.
This line of code attaches our stylesheet to our webpage, and tells the browser that, yes, it is a stylesheet. Now you're ready to start experimenting!
Editing a Stylesheet
Here's the fun part. In your style.css sheet, write the following:
And then go look at what happens to your index.html page!
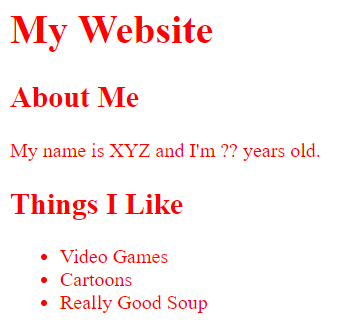
So what we've done here is, we've told the stylesheet that all the text in the body selector--that is, everything contained in <body></body>--should be colored red. You can easily add more features to this. For instance, we can finally get away from that musty old Times New Roman font:
And that completely changes our webpage's font from Times New Roman to Arial.
There are a couple of other default fonts you can choose from (my favorite is font-family: 'Georgia', serif;), but if you want to use custom fonts, that'll take slightly more effort. I'll talk more about that later.
So basically, here's how your stylesheet editing will go: you'll pick one of your tags, like <body></body>, <p></p> or <a></a>, and write it in the stylesheet. Then, inside curly braces, you'll write down what properties you'd like to change. (Make sure to end each line with a semicolon, and always close the curly brace at the end!)
Now, when you're making a webpage, there's a high chance you're going to want to make your own custom selectors so that you have more control over different parts of the webpage. For instance, this webguide has an additional container called main. It's stacked inside <body></body>, and I use it to move text and images into a column in the middle of the page. Here's what it looks like in HTML...
And here's what it looks like in CSS.
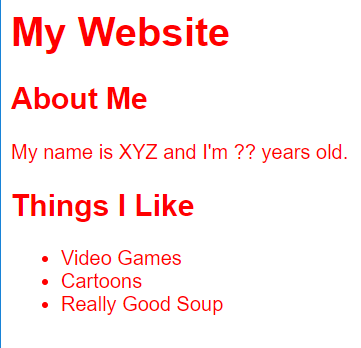
So "main" is the selector, while categories like "background-color" are properties, and statements like "whitesmoke" are the values. You don't need to remember these names, but it's useful to know for when you're looking things up. From this chunk of CSS, you can see that (among other things) I've used my stylesheet to change the background color, add a border around the main area, change the background color, and make sure there's always a 20% margin of free space to either side.
The amount of things you can change with CSS is truly dizzying, so I'll just name a few selectors and properties here; for everything else, I highly recommend W3Schools' CSS Tutorial. I use it every time I edit CSS.
A Few CSS Selectors
body- Edits everything contained in the<body></body>tag.h1 - Edits your a- Edits all of your links. Replace with a:visited for visited links, a:hover for hovering over links with the mouse, etc.p- Edits all text contained in paragraphs. Useful if you want to have headers and paragraphs be different fonts, etc.img- Edits all of the images you put in your webpage. This is useful if you want to make every image the same size, or if yuo want borders around all of them, things like that.
<h1></h1> heading. Replace with h2, h3, etc. as needed.
A Few CSS Properties
color:- Defines text color.background-color:- Defines a color for the background.background-image:- Sets an image as a background. For instance, the background for this webpage is defined as:background-image: url(/images/bg.png);.width- Defines how wide an element can be. You can specify it in pixels (e.g.width: 50px;) or percentages of the available area (e.g.width: 50%;), among others. For the most part, "available area" is going to be considered the browser window or phone screen. So, think of percentages as "percentage of the window/screen to take up." This is good to keep images from getting too large.text-align:- Defines how the text should be aligned. This text is left-aligned, but you can also have right-aligned, center, or justified.margin:- Defines how much space should be left outside of the selector. Think of the margins on a piece of notebook paper.padding:- Defines how much space should be left inside of the selector. Think of the area between a frame and a photograph.
Of course, this is only the tip of the iceberg. Feel free to experiment and see what other combinations you can find!
Webfonts
I'm putting in a special section on webfonts because they're a free, easy, fun way to customize your webpage and make it unique. If you want to use a font on your page that isn't one of the default webfonts (e.g. Times New Roman, Arial, Georgia, Verdana), then you're going to want to go to Google Fonts or Adobe Edge Web Fonts. In this tutorial, I'll use Google Fonts since it's what I'm used to.
On Google Fonts, you'll see a list of typefaces with some sample text for each one. You can click on any of these and type in your own sentence to see how it looks. To use a certain font on your webpage or site, just click the plus button in the top right corner. I'll use Open Sans as an example.

After that, you should see this box pop up on the bottom of the screen.
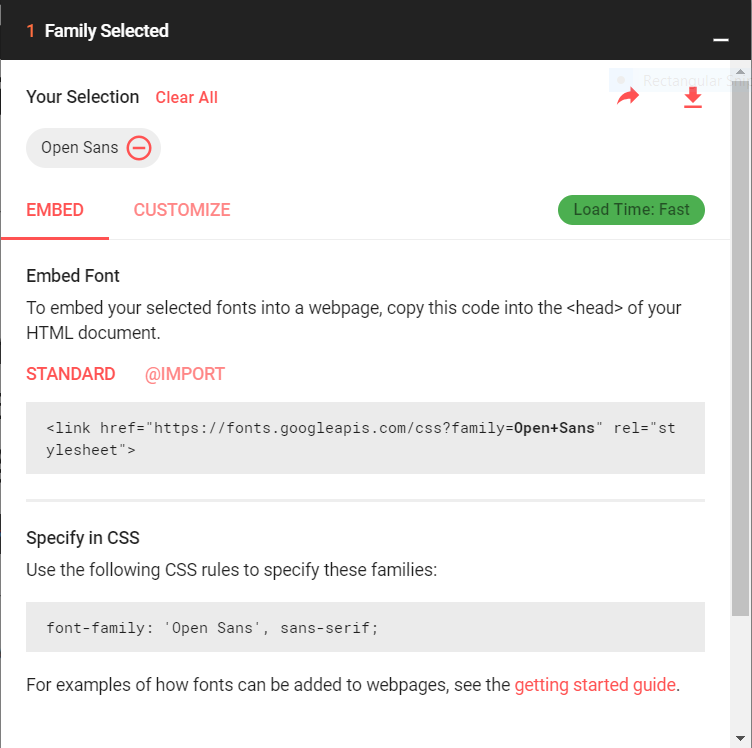
After that, just follow the instructions. To add your font to your webpage, copy and paste the text under "Standard" into your <head></head> tag. (I put mine right after <link rel="stylesheet" href="/style.css">. Then, go into your stylesheet and copy and paste the following CSS rule into whatever selector you want:
font-family: 'Open Sans', sans-serif;
It might take some trial and error at first, but you should be able to get it! CSS can be confusing, but it can be very rewarding if you stick with it, and if it clicks for you, it can be very fun to play around with.
More Resources
Here are some resources I use when I make my webpages. These are all free to use!
- Google Fonts and Adobe Edge Web Fonts, as mentioned before
- patterncooler.com and Subtle Patterns, for webpage backgrounds
- HTML Color Picker, for hex color codes
- w3schools.com, for more web tutorials
I think that about wraps up this HTML/CSS guide--it should be more than enough to get you started on making your own personal, unique space on the web. If you have any feedback or questions, please feel free to reach out to me at pkohberger at gmail dot com.